Table of Contents
Now that you have sucessfully installed the engine, its time to use it to make applications 😉
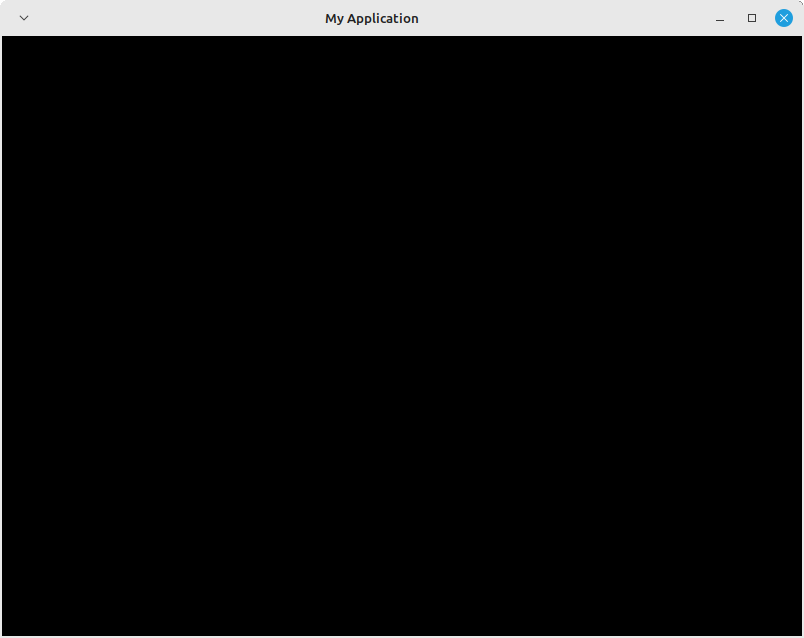
In this tutorial, we will create a barebones application: A black screen window.
The first chapter will create the CMake file structure and we will see about the C++ file in the second.
No fancy rendering stuff, shaders, etc... Those will be covered in other tutorials 🙂
Note: Feel free to adapt the steps to your own use case if you are adding OxygenEngine afterwards to your existing application.
For reference, the final code + CMake files of the final example application are available at the bottom
Loading Oxygen Engine
Create your application folder somewhere and inside it, create the CMakeLists.txt
Then, you should require the package OxygenEngine with find_package(OxygenEngine REQUIRED).
Then link your application to it with target_link_libraries(<application-target> PUBLIC OxygenEngine) where <application-target> is your compile target.
In this application we will only use one file, the main.cpp.
Create a minimal main.cpp file (don't worry, we will stuff it the next chapter):
Compile to check if anything work correctly, then continue to the next chapter.
Device and Window
Let's do some step-by-step coding but before, we will briefly talk about Device and Window.
The oe::core::Device is a central part when you use the engine, you will always use one because it act as the engine instance It will be the first object instantiated.
Creating the device might also create the main Window of your application.
The oe::core::Window is a wrapper around the application window and also the one that will contain the graphic rendering context
You can attach events to it, show/hide it, toggle fullscreen, etc... The main window also contains the rendering context and then acts as the main framebuffer.
Now, we will create a window of 800x600 resolution and with the title My Application
The Device class is found in the header at OxygenEngine/core/device.h and the Window is in OxygenEngine/core/window.h
An interesting property in the Oxygen Engine is that the include file tree uses the same structure as the namespace
For example, if you want to know which header is needed to use oe::some_name_space::SomeClass, you only have to include OxygenEngine/some_name_space/some_class.h 🙂
Now getting back to our code:
If you compile it now, nothing will happens.
The window is created but nevertheless still not visible, lets show it with device.getWindow().show();
If you compile this and run it: The window seems to appears, but the application directly quits afterwards
Its normal, its because the window is instructed to close at the end of the program and it finished too early
To prevent that, we will now add an infinite loop; you can use some flavor of while (true) for example but there are better tools in the engine 🙂
We can ask the device if it should stop running (for example because of OS Event, close button of the window clicked, etc...) and end the loop in those cases, so lets add a device.canRun() condition of the infinite loop.
But before compilling, we need to instruct the device to handle any external events (otherwise clicking on the close button on the window wouldn't work, for exemple) so lets call the device processEvents() that will then fill the event handlers (those will be more discussed in the Events tutorial).
The window content seems a bit weird (the window will display the content below it), its because we still don't update the framebuffer.
Let's fix it, in fact it is rather simple because you just need to add a pair of rendering operations beginRender() and endRender().
Begin the rendering will prepare the context's main framebuffer to receive content, and finally the end will let the rendering terminate its operations and swap the framebuffers.
Here is the updated code (only the relevant parts)
Compile and run. If you end up seeing something like this, congrats 🎉 you have now a working basic shell application to use the engine.

See below if you need the complete final code.
Now lets do exploration of scene concepts and some rendering in the Scene tutorial.
If you rather prefer to render simple lines for debugging, take a look at the Debug draw tutorial.
Complete source code
You can use those files as a starting point for any application that will use Oxygen Engine
CMakeLists.txt
main.cpp